
How to Keep Your PC Cool and Running Efficiently
Expert tips to prevent overheating, extend hardware life, and maximize performance
Is your computer running hot and slow? Learn proven techniques to optimize cooling, boost efficiency, and protect your valuable hardware investment.
How to Keep Your PC Cool and Running Efficiently
Your computer’s performance and lifespan depend heavily on proper temperature management. Overheating can lead to throttled performance, random shutdowns, and even permanent hardware damage. This comprehensive guide will show you how to keep your PC cool and running at peak efficiency.
Free PC Cooling Checklist
Download our printable checklist to help you maintain optimal PC temperatures and performance.
Why PC Cooling Matters: The Hidden Dangers of Overheating
Modern computers pack incredible power into compact spaces, generating significant heat during operation. Without proper cooling, this heat can cause:
- Reduced Performance: CPUs and GPUs automatically throttle their speed when they get too hot, making your PC slower.
- Shortened Hardware Lifespan: Excessive heat accelerates component wear, potentially reducing lifespan by 40-50%.
- System Instability: Overheating can cause random crashes, freezes, and unexpected shutdowns.
- Permanent Damage: Extreme temperatures can permanently damage expensive components like CPUs, GPUs, and motherboards.
For every 10°C increase in operating temperature above recommended levels, the lifespan of electronic components can decrease by up to 50%. Keeping your PC cool isn’t just about performance—it’s about protecting your investment.
What Are Optimal PC Temperatures?
Before diving into cooling solutions, it’s important to understand what temperatures are considered safe for your components:
| Component | Idle Temperature | Load Temperature | Danger Zone |
|---|---|---|---|
| CPU (Intel/AMD) | 30-40°C | 60-80°C | Above 90°C |
| GPU | 30-45°C | 65-85°C | Above 95°C |
| Hard Drive (HDD) | 25-40°C | 40-50°C | Above 60°C |
| SSD | 30-45°C | 45-70°C | Above 70°C |
| Motherboard | 30-40°C | 40-60°C | Above 80°C |
Performance Impact of Overheating
7 Warning Signs Your PC Is Overheating
How do you know if your PC is running too hot? Watch for these telltale signs:
- Loud Fan Noise: Constantly running fans at high speeds indicate your cooling system is working overtime.
- Performance Drops: Sudden slowdowns, especially during demanding tasks like gaming or video editing.
- Random Shutdowns or Restarts: Thermal protection mechanisms force your PC to shut down when temperatures get dangerous.
- Blue Screen of Death (BSOD): Overheating can cause system instability leading to crashes.
- Graphics Glitches: Artifacts, screen tearing, or unusual visual anomalies can indicate an overheating GPU.
- System Freezes: Complete system lockups that require a hard restart.
- Hot PC Case: If the exterior of your PC case feels unusually hot to the touch.
If you notice multiple warning signs of overheating, take immediate action. Continued operation at high temperatures can cause permanent damage to your components and potentially lead to complete system failure.
Step 1: Clean Dust from Your PC
Dust is the number one enemy of PC cooling. It insulates components, blocks airflow, and can even cause short circuits. Here’s how to properly clean your PC:
What You’ll Need:
- Compressed air can
- Microfiber cloth
- Isopropyl alcohol (90% or higher)
- Cotton swabs
- Small brush (optional)
- Anti-static wristband (recommended)
Cleaning Process:
- Power off your PC and unplug all cables.
- Take your PC to a well-ventilated area (preferably outdoors).
- Open the case panel(s) to access the interior.
- Use short bursts of compressed air to blow dust from components, working from top to bottom.
- Pay special attention to fans, heatsinks, and radiators where dust accumulates most.
- Use cotton swabs with isopropyl alcohol for stubborn dust in tight spaces.
- Clean fan blades with a microfiber cloth.
- Reassemble your PC once all components are dust-free and dry.
Recommended frequency: Every 3-6 months, more often in dusty environments or homes with pets.
When using compressed air, hold the fan blades steady to prevent them from spinning too fast, which can damage the bearings. Also, always keep the compressed air can upright to avoid spraying liquid propellant onto your components.
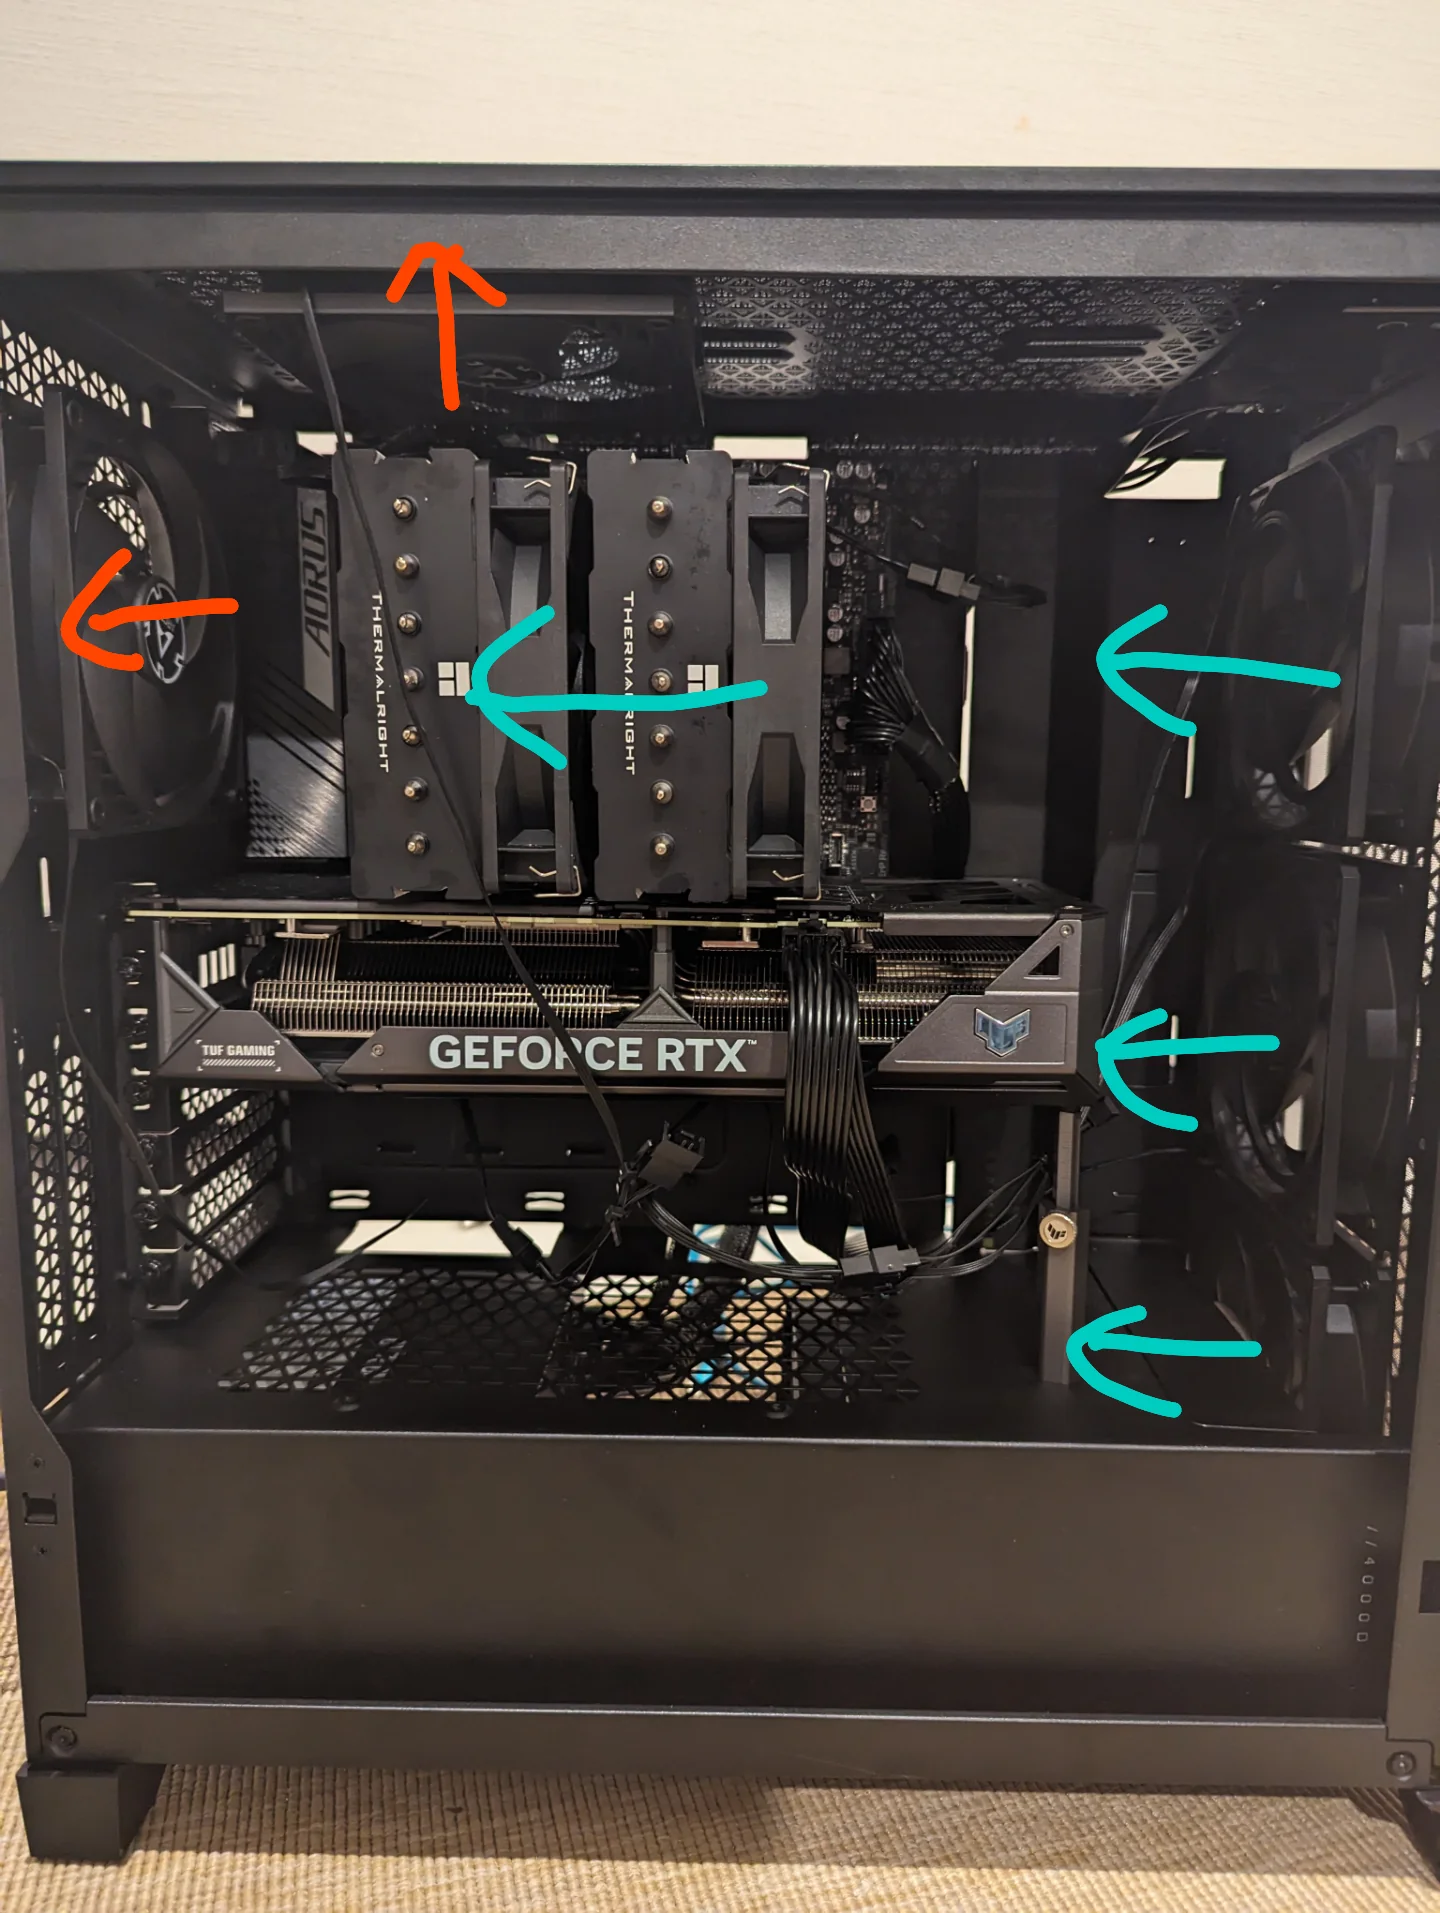
Step 2: Optimize Your PC’s Airflow
Proper airflow is crucial for effective cooling. The goal is to create a consistent flow of air through your case, bringing cool air in and pushing hot air out.
Airflow Optimization Tips:
- Follow the front-to-back, bottom-to-top principle: Intake fans at the front/bottom, exhaust fans at the rear/top.
- Balance intake and exhaust: Slightly more intake than exhaust creates positive pressure, reducing dust buildup.
- Manage cables: Messy cables block airflow. Use cable ties and routing channels to keep them organized.
- Maintain clearance: Keep at least 10-15cm of space around your PC’s vents.
- Consider fan placement: Position fans to create a direct path for air to flow across hot components.
- Upgrade case fans: Higher quality fans can move more air while producing less noise.
Recommended Fan Configuration:
- Mid-tower case: 2 intake fans (front), 1 exhaust fan (rear), 1-2 exhaust fans (top)
- Small form factor: 1-2 intake fans (front/bottom), 1 exhaust fan (rear)
- High-performance systems: 3 intake fans (front), 1 exhaust fan (rear), 2-3 exhaust fans (top)
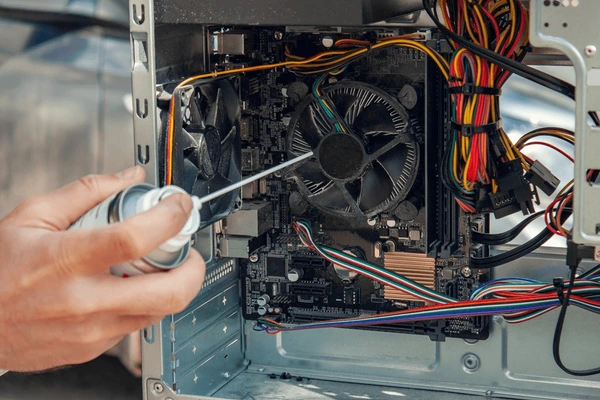
Step 3: Apply Fresh Thermal Paste
Thermal paste creates an efficient heat transfer between your CPU/GPU and their coolers. Over time, it can dry out and lose effectiveness.
When to Replace Thermal Paste:
- Every 2-3 years as regular maintenance
- When removing a CPU cooler for any reason
- If you notice unexplained temperature increases
- When upgrading cooling components
How to Apply Thermal Paste:
- Power down and unplug your PC.
- Remove the CPU cooler following manufacturer instructions.
- Clean old thermal paste from both the CPU and cooler using isopropyl alcohol and a lint-free cloth.
- Apply a small amount of new thermal paste to the center of the CPU (pea-sized for desktop CPUs, rice-sized for laptop CPUs).
- Reinstall the cooler, allowing the pressure to spread the paste evenly.
- Avoid using too much paste, as excess can spill over and potentially cause electrical issues.
Recommended Thermal Pastes:
- Arctic MX-4 (excellent all-around performance)
- Thermal Grizzly Kryonaut (high-performance)
- Noctua NT-H1 (reliable and long-lasting)
# PowerShell script to check CPU temperature (requires Open Hardware Monitor)
$url = "https://openhardwaremonitor.org/files/OpenHardwareMonitor-0.9.6.zip"
$output = "$env:TEMP\OpenHardwareMonitor.zip"
$destination = "$env:USERPROFILE\OpenHardwareMonitor"

# Download and extract Open Hardware Monitor
Invoke-WebRequest -Uri $url -OutFile $output
Expand-Archive -Path $output -DestinationPath $destination -Force

# Run Open Hardware Monitor with WMI provider enabled
Start-Process -FilePath "$destination\OpenHardwareMonitor\OpenHardwareMonitor.exe" -ArgumentList "/WMI=true"

# Wait for WMI to initialize
Start-Sleep -Seconds 5

# Get CPU temperature
$temperature = Get-WmiObject -Namespace "root\OpenHardwareMonitor" -Class Sensor |
    Where-Object { $_.SensorType -eq "Temperature" -and $_.Name -like "*CPU Package*" } |
    Select-Object Name, Value

Write-Host "Current CPU temperature: $($temperature.Value)°C"
Step 4: Monitor and Manage PC Temperature
Regular monitoring helps you catch temperature issues before they cause problems. Several excellent tools can help you keep an eye on your system’s thermal performance.
Recommended Monitoring Software:
- HWiNFO: Comprehensive hardware monitoring with detailed sensor readings.
- MSI Afterburner: Great for GPU monitoring and custom fan curves.
- Core Temp: Simple, lightweight CPU temperature monitor.
- Open Hardware Monitor: Open-source monitoring tool for all major components.
- NZXT CAM: User-friendly interface with both basic and advanced monitoring.
Temperature Management Tips:
- Create custom fan curves: Adjust fan speeds based on temperature thresholds using software like SpeedFan or your motherboard’s BIOS/UEFI.
- Set up temperature alerts: Configure notifications when temperatures exceed safe levels.
- Monitor during stress tests: Use tools like Prime95 or FurMark to test cooling under maximum load.
- Track temperature trends: Note any gradual increases over time, which may indicate cooling degradation.
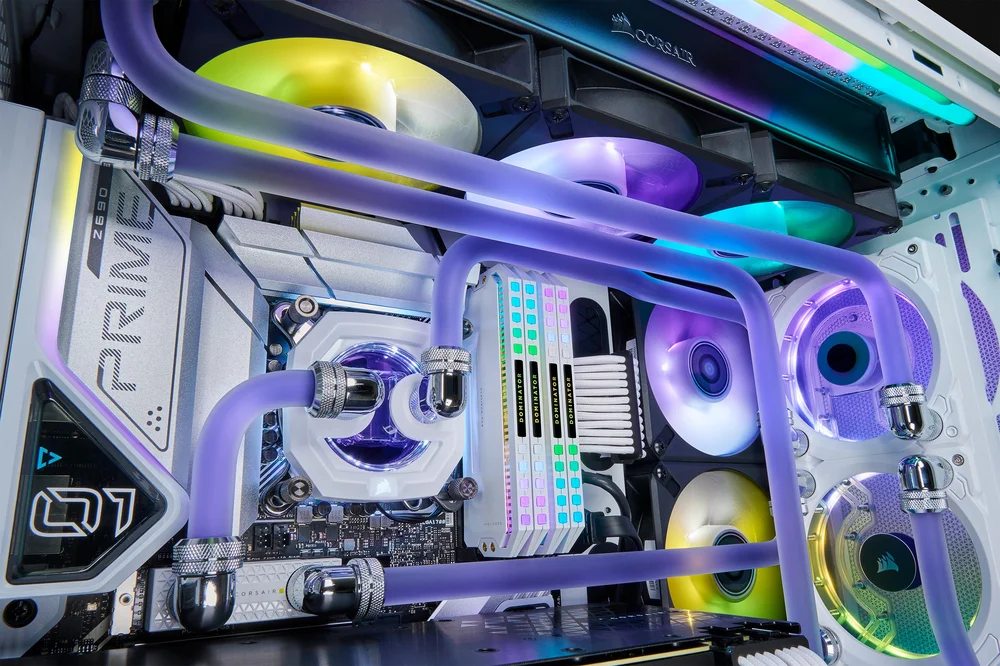
Step 5: Upgrade Your Cooling Components
If basic maintenance doesn’t keep temperatures in check, it might be time to upgrade your cooling system.
CPU Cooling Upgrades:
- Aftermarket Air Coolers: Brands like Noctua, be quiet!, and Cooler Master offer significantly better cooling than stock coolers.
- All-in-One (AIO) Liquid Coolers: Closed-loop liquid cooling systems provide excellent cooling with a clean aesthetic.
- Custom Water Cooling: The ultimate cooling solution for enthusiasts, offering the best thermal performance.
Case Cooling Upgrades:
- High-Quality Case Fans: Premium fans from Noctua, be quiet!, or Arctic provide better airflow with less noise.
- Fan Hubs and Controllers: Allow for precise control over multiple fans.
- Mesh Front Panels: Cases with mesh fronts allow for significantly better airflow.
Other Cooling Enhancements:
- GPU Support: Aftermarket GPU coolers or deshrouding for better graphics card cooling.
- M.2 SSD Heatsinks: Prevent thermal throttling in high-performance SSDs.
- PCI Slot Fans: Additional cooling for specific areas like GPUs or RAID cards.
| Cooling Solution | Pros | Cons | Best For |
|---|---|---|---|
| Stock CPU Cooler | Free, simple installation | Limited cooling capacity, often noisy | Basic office PCs, budget builds |
| Tower Air Cooler | Excellent value, reliable, no maintenance | Large size, can block RAM slots | Most gaming PCs, workstations |
| AIO Liquid Cooler | Excellent cooling, clean aesthetics | More expensive, potential for pump failure | High-performance builds, overclocking |
| Custom Water Cooling | Best possible cooling, fully customizable | Expensive, complex installation, maintenance required | Enthusiast builds, extreme overclocking |
Step 6: Software Optimization for Better Efficiency
Hardware cooling is only part of the equation. Software optimization can significantly reduce heat generation and improve efficiency:
Operating System Optimization:
- Update your OS: Keep Windows, macOS, or Linux updated with the latest patches and drivers.
- Manage startup programs: Disable unnecessary applications that run at startup.
- Use power plans: Configure power settings to balance performance and heat generation.
- Clean temporary files: Regularly clear cache and temporary files that can slow down your system.
Application Management:
- Close resource-intensive applications: When not in use, close programs that tax your CPU and GPU.
- Monitor background processes: Use Task Manager (Windows) or Activity Monitor (Mac) to identify and close resource hogs.
- Update applications: Keep software updated for better optimization and efficiency.
Gaming Optimization:
- Use frame rate limiters: Cap FPS to prevent unnecessary GPU strain.
- Optimize in-game settings: Balance visual quality with performance to reduce heat generation.
- Consider undervolting: Reduce power consumption and heat with minimal performance impact.
For laptops, consider using a cooling pad with additional fans to improve airflow. Also, ensure that vents aren’t blocked by soft surfaces like beds or couches, which can trap heat and cause rapid temperature increases.
Step 7: Optimize Your PC’s Environment
Your PC’s surroundings play a crucial role in its cooling efficiency:
- Room temperature: Keep your computer in a cool, climate-controlled environment.
- PC placement: Ensure adequate clearance around all vents (at least 10-15cm).
- Avoid direct sunlight: Keep your PC away from windows where sunlight can raise temperatures.
- Elevated position: For desktops, consider raising the case slightly for better bottom airflow.
- Regular environment cleaning: Dust in the room eventually becomes dust in your PC.
When to Seek Professional Help
While many cooling issues can be resolved with DIY methods, some situations call for professional assistance:
- Persistent overheating: If temperatures remain high after trying all the above solutions.
- Unusual noises: Grinding, clicking, or whining from fans or pumps.
- Liquid cooling leaks: Any sign of fluid leakage requires immediate professional attention.
- Hardware damage: Visible damage to components or cooling systems.
- Complex upgrades: Custom water cooling installations or major system overhauls.
At FixMyGadget, our technicians specialize in PC cooling optimization and can diagnose and resolve even the most challenging thermal issues. We offer comprehensive cooling services including:
- Professional dust removal and deep cleaning
- Thermal paste replacement with premium compounds
- Cooling system upgrades and installations
- Airflow optimization and cable management
- Custom fan curve configuration
- Complete cooling system diagnostics
PC Cooling Maintenance Guide
Download our comprehensive guide to keeping your PC running cool and efficiently year-round.
Conclusion: A Cool PC is a Happy PC
Proper cooling is essential for your computer’s performance, reliability, and longevity. By following the steps outlined in this guide, you can significantly reduce operating temperatures and keep your PC running efficiently for years to come.
Remember that cooling maintenance isn’t a one-time task—it’s an ongoing process. Schedule regular cleaning and check-ups to ensure your system continues to operate at optimal temperatures.
If you’re experiencing persistent cooling issues or would like professional assistance with optimizing your PC’s thermal performance, our team at FixMyGadget is here to help. Contact us today for expert PC cooling solutions in Johannesburg South.

Related Articles


Is Your PC Running Hot?
Don’t wait until overheating damages your components. Our expert technicians can optimize your PC’s cooling system for maximum efficiency and longevity.
We serve Kibler Park, Glenvista, Mondeor, Alberton and surrounding areas in Johannesburg South
Comments (3)
Michael Pretorius
May 27, 2025
This guide saved my gaming PC! My temperatures were hitting 95°C during gaming sessions, causing stuttering and crashes. After cleaning the dust (there was so much!) and reapplying thermal paste, my temps dropped by almost 20 degrees. Now my PC runs smooth even during marathon gaming sessions. Thanks!
ReplyThandi Nkosi
May 26, 2025
Question: I have a laptop that gets very hot while I’m working. Would a cooling pad really help, or should I look into getting it serviced? It’s about 3 years old now.
ReplyFix My Gadget Team
May 26, 2025
@Thandi: For a 3-year-old laptop, it’s likely that dust has accumulated inside the cooling system. A cooling pad can help, but it’s treating the symptom rather than the cause. We’d recommend getting it professionally cleaned and having the thermal paste replaced. This typically reduces temperatures by 15-25°C in laptops of that age. Feel free to bring it to our shop in Johannesburg South for a free diagnostic!
ReplyLeave a Comment